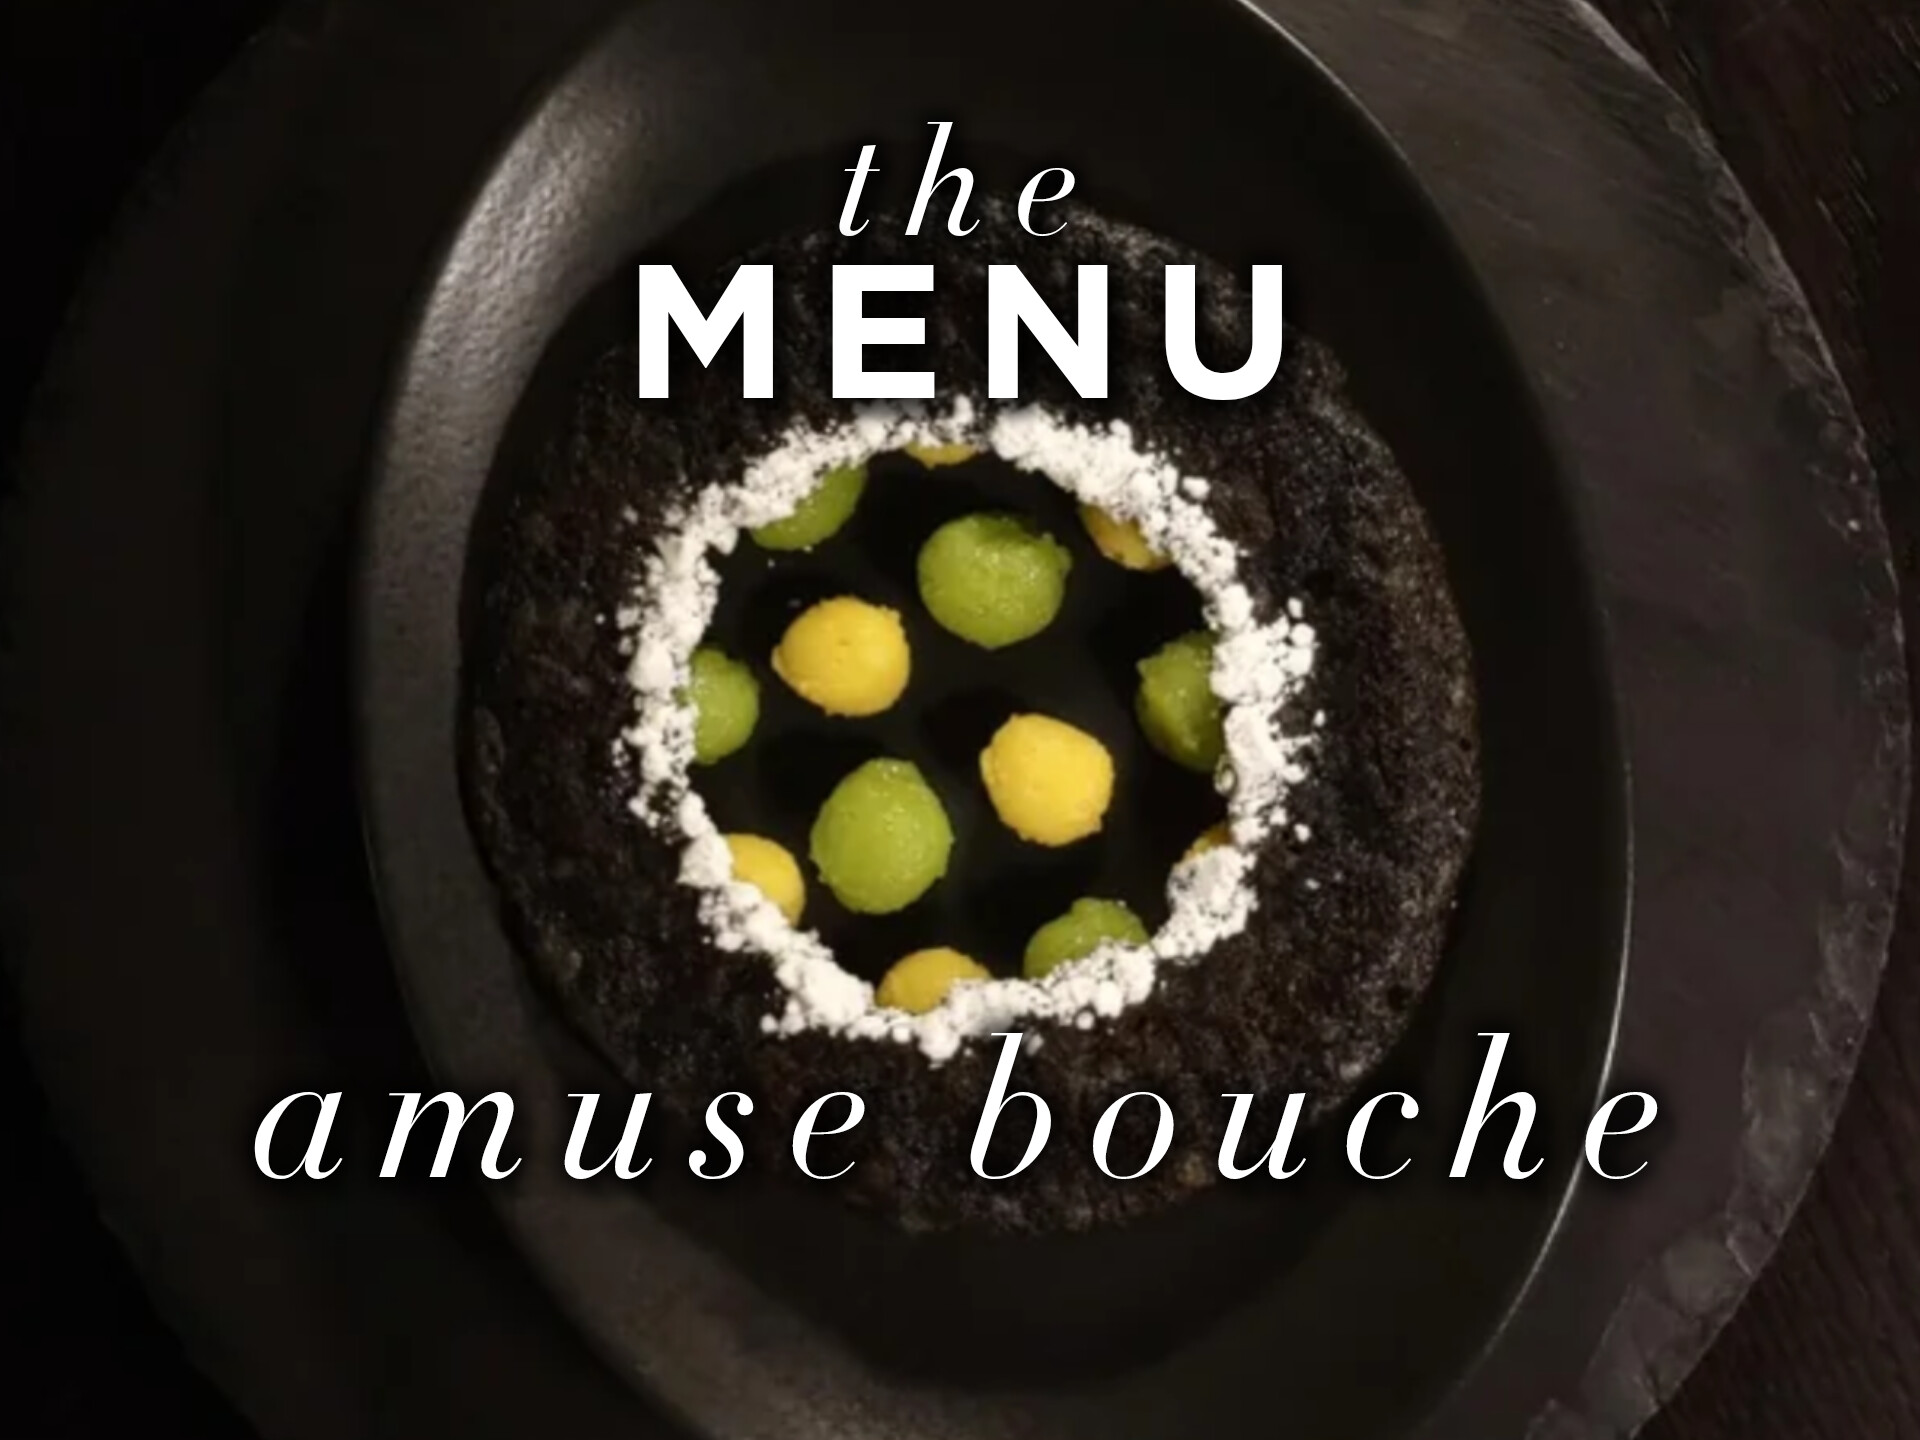
Spherification is one of the most visually striking techniques used in molecular gastronomy, allowing chefs to create spherical shapes from liquids that resemble caviar or pearls. There are three main spherification methods: direct spherification, reverse spherification, and simple spherification using agar-agar. Each method has unique properties, advantages, and drawbacks that make it suitable for different culinary applications. Here’s a closer look at these techniques and how they compare.
1. Direct Spherification
Method Overview:
Direct spherification involves adding sodium alginate to a flavorful liquid (like juice) and then dropping it into a calcium bath, usually made with calcium chloride. A thin, flexible membrane forms around the liquid core due to an ionic reaction between the alginate and calcium.
Pros:
- Simple and visually impressive: Creates appealing spheres with a liquid core that burst in the mouth.
- Instant reaction: The results are visible immediately after dropping the liquid into the bath.
- Versatile: Suitable for many liquid ingredients like fruit juices, herbal infusions, or alcohol.
Cons:
- Limited shelf life: The spheres continue to react with calcium ions, leading to further gelation that eventually turns the liquid core solid. They must be consumed within minutes of preparation.
- Reaction with acidic ingredients: Low pH liquids like lemon juice may need adjustment to achieve proper gelling.
- Delicate membrane: The membrane is very thin and fragile, making it prone to breakage.
Example recipe:
2. Reverse Spherification
Method Overview:
Reverse spherification involves adding calcium (usually calcium lactate) to the base liquid and then dropping it into an alginate bath. This process reverses the usual roles, creating a gel exterior with a liquid interior that lasts longer.
Pros:
- Longer-lasting spheres: The spheres remain stable and liquid inside for several hours, providing more time for service.
- Better for dense or acidic ingredients: Works well with dairy, citrus juices, and alcohols.
- Greater control over sphere size: Allows for larger spheres and more creative shaping.
Cons:
- More complex technique: Requires precision to create uniform spheres.
- Textural differences: Larger spheres may develop a thicker, less delicate membrane.
- Requires experience: The process can be time-consuming and needs a good understanding of chemical reactions.
3. Simple Agar-Agar Spherification
Method Overview:
This method uses agar-agar (a plant-based gelling agent) to thicken the liquid, which is then dropped into cold oil to form small spheres. Unlike alginate spherification, these spheres have a firmer gel that is solid all the way through.
Pros:
- Simple execution: Does not require special chemicals; agar-agar is widely available.
- No chemical reaction needed: Skips the calcium bath, making the process simpler.
- Stability: Spheres are more stable and can be stored for longer without changing consistency.
Cons:
- Solid core: The spheres lack the liquid center characteristic of alginate spherification, limiting the sensory experience.
- Less delicate texture: The agar-agar gel is more brittle and less elastic than alginate gel.
- Less dramatic burst: The spheres do not melt in the mouth; they are crunchy.
Example recipe:
Conclusion: Which Method to Choose?
- Direct spherification is perfect for immediate use when you need delicate, thin-walled spheres, but they must be consumed quickly.
- Reverse spherification offers greater stability and works well with challenging ingredients, such as acidic or alcoholic bases. It’s ideal for restaurant dishes and larger spheres.
- Simple agar-agar spherification is best when stable, crunchy pearls are needed that can be stored without losing their shape, though they don’t offer the liquid core of the other methods.
Each method brings unique qualities to molecular gastronomy and opens up new creative possibilities for cooking. The choice of technique depends on the desired final effect, the time available for preparation, and the ingredients at hand.


